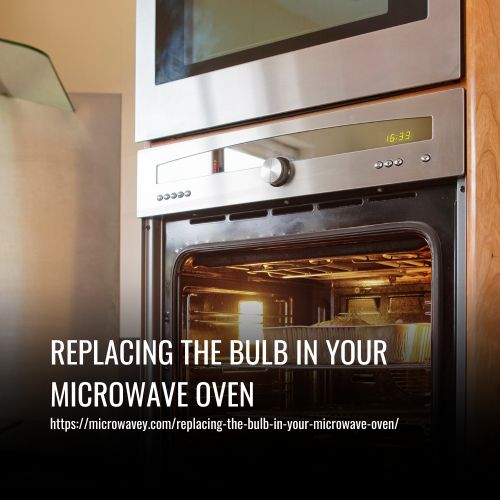
Replacing The Bulb In Your Microwave Oven
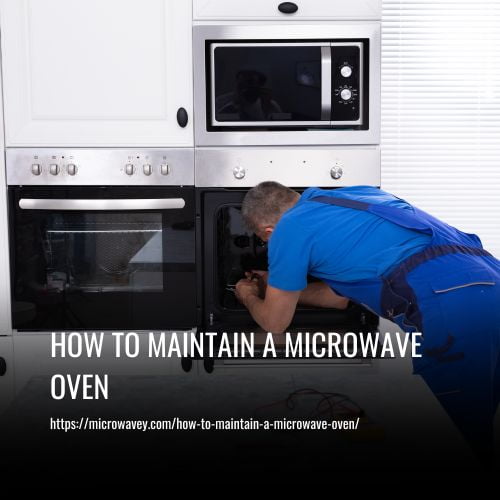
Hi everyone! I’m here to talk about replacing the bulb in your microwave oven. As a repair technician, it’s one of my most common tasks and something that’s fairly easy for almost anyone to do themselves with just a few simple tools.
Replacing the lightbulb on your own is an excellent way to save time and money – not to mention give you a sense of accomplishment from fixing something yourself.
In this article, I’m going to walk you through all the steps necessary so that you can easily replace the bulb in your microwave oven.
Prepare The Tools And Materials
Imagine yourself as a microwave repair technician, ready to take on the challenge of replacing a bulb. You enter the workspace and survey your surroundings; all that is required for you to complete this task lies in front of you. It’s time to get organized!
First things first, it’s important to make sure your tools are accessible and easily located when needed. Gather up any supplies like screwdrivers or wrenches that may be necessary for the job ahead. Then organize them in an efficient manner so they can be grabbed quickly if need be.
Finally, make sure you have the new lightbulb close at hand before starting the project – you wouldn’t want to have to search around for it later! Now that everything is prepared, it’s time to start replacing the bulb in your microwave oven.
Unplug The Microwave
Now that you have gathered all the necessary supplies, it’s time to unplug the microwave.
Before doing so, make sure to check if there is a power outlet in your kitchen or near your working area. Once you’ve confirmed this, turn off any switches connected to it and unplug the cord from the wall socket.
Afterwards, I recommend taking extra precautions for safety purposes and ensuring you are properly grounded before touching internal parts of the appliance.
To do this, gather up some tools such as rubber gloves and insulated screwdrivers – these will help prevent electric shocks while working on live circuits. Additionally, use an ohmmeter or voltmeter to double-check that no current is running through wires before disconnecting them.
Remove The Exterior Cover
Alright, let’s start by unplugging the microwave from the wall outlet; this is an important step to ensure your safety before we begin. Next, we’ll need to identify the screws that hold the cover on – these will be located around the perimeter of the microwave.
Unplug The Microwave
Before we can get to the bulb, first thing’s first: unplugging the microwave.
It’s a must-do safety step that no technician should ignore.
You always want to make sure you’re working with a power source that is completely off before attempting any repairs or replacements.
Plus, it’s just good practice for any DIY home repair job!
So be sure to locate and disconnect your appliance from its power source before starting this process.
Identify Cover Screws
Ok, now that the microwave is unplugged, let’s get to work.
The next step in removing the cover is to identify and unscrew the screws that hold it in place. This can be a tricky part of the process because microwaves come in a variety of models and sizes – so you want to make sure you check for compatibility before researching your options. That way, you’ll know exactly which type of screwdriver fits correctly on each one of those screws!
Once this step is complete, we’ll move onto actually taking off the cover.
Locate The Bulb And Socket
Before accessing the bulb, you’ll need to make sure you have all of the necessary tools. A Phillips head screwdriver and a flashlight are the two main items you should always have on hand when replacing this part.
Now that we’re prepared, let’s get started! We can access the bulb by opening up one side panel in most microwave ovens. This is usually done with a few screws so it shouldn’t take too long.
Once open, use your flashlight to locate the socket where the bulb was connected and find any other components that may be blocking its way out of the machine. Make sure you keep track of each piece as you go along so reassembly will go smoothly later on.
Remove The Socket
First off, make sure you unplug the appliance before you start. That’s the most important step! Once the appliance is unplugged, remove the housing cover so you can get to the socket. Now it’s time to unscrew the socket–just use an appropriate screwdriver and you should be able to take it out.
Unplug The Appliance
When it comes to replacing the bulb in your microwave oven, safety should always be your top priority.
As a repair technician, I always recommend unplugging the appliance before any work is done on it – even something as simple as changing out a lightbulb.
This will help avoid shock and other potential hazards that can come from electricity.
Taking preventive measures like this can make all the difference when working with an electrical device like a microwave oven.
So don’t forget: if you’re looking to replace or service the bulb in your microwave, always remember to unplug first!
Remove Housing Cover
Now that you’ve unplugged your microwave, it’s time to remove the housing cover and get access to the socket.
Before doing so, make sure to check any connections and read all instructions carefully – these will help guide you through safely removing the necessary parts without damaging them or injuring yourself.
It might seem like a small step but taking the time to do this can save you from potential headaches down the line!
Unscrew Socket
Okay, now that we’ve checked all the connections and read through the instructions carefully, it’s time to unscrew the socket.
Before doing this make sure to check voltage and measure wattage – these are important steps for making sure everything is safe before taking apart any part of your microwave oven.
I’ll be using a screwdriver to loosen the screws but remember not to force them as you could do some damage if you’re too rough with them.
Once all screws have been removed from the wall, gently pull away from the socket – there should be no resistance when doing so.
Now we can move on to disconnecting wires safely!
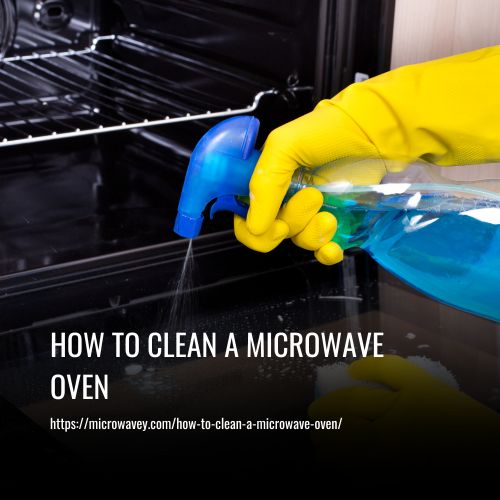
Clean The Socket
Now that the socket has been removed, it’s time to clean it. To start, you’ll want to make sure you have a heat-proof cloth handy so that you can wipe down the surface of the socket without damaging any of its components.
Besides using a heat-proof cloth, there are other cleaning steps you should take:
- Cleaning Supplies
- Scrub brush – A scrub brush is essential for getting off dirt and grime from within the sockets crevices.
- Vacuum cleaner – This will help pick up any dust particles inside the socket cavity which may hinder proper contact between the bulb and the contacts when reassembling later on.
Once all these supplies have been gathered, it’s time to get started on ensuring your microwave oven’s longevity by properly maintaining its interior parts.
Start with brushing away any debris or dirt build up in and around the socket with a soft bristled scrub brush followed by vacuuming out any remaining dust particles with a vacuum cleaner; this will help ensure adequate heat proofing during future use.
Replace The Bulb
Replacing the bulb in your microwave oven is not a difficult task, but it’s important to remember that you should only use compatible bulbs. Buying the right kind of replacement bulb can be tricky, so I’m providing a table below which will help give some clarification on what type of bulbs are best for your needs and how much they cost.
| Bulb Type | Wattage (W) | Cost ($) |
|---|---|---|
| LED | 7-8 | 4 – 6 |
| Halogen | 25 | 10 |
| CFL | 40 | 20 |
| Incandescent 35 5 – 8 |
Depending on your budget and preferences, each of these options has its own benefits when replacing the bulb in your microwave oven. LEDs are energy efficient and long lasting, while halogens provide bright light but also generate heat; CFLs offer both low power consumption and good lifespan; and incandescents often have lower upfront costs yet need frequent replacements due to their shorter lifespans. Whichever option you choose, make sure that it is compatible with your appliance before installation.
Reattach The Socket
Now that the bulb has been replaced, it’s time to reattach the socket.
I’ll start by checking the wiring to make sure everything is connected properly and securely.
Then, I’ll open up the socket and make sure all of the wires are in their proper places.
If there are any loose or frayed wires, I’ll need to tighten them before securing the socket back into place.
Once this is done, I can test out my work to make sure the microwave oven is working correctly.
With these steps completed successfully, your microwave should be good as new!
Test The Microwave
After replacing the bulb in your microwave oven, it’s time to make sure that everything is working as it should.
To start off, I’m going to be testing safety features and checking voltage levels – just like a doctor taking your vitals!
As part of this process I’ll also check for any loose wiring or exposed parts; these are all common things that can cause problems with microwaves if they’re not taken care of properly.
Finally, once I’m satisfied that everything looks good and all tests have been passed successfully, then you can go ahead and fire up your new lightbulb and get cooking again.
With my professional touch, you can now rest assured knowing that your appliance is back at its best and ready for action!
Reattach The Exterior Cover
Now that you’ve tested the microwave and it is working, it’s time to reattach the exterior cover.
To do this, make sure you use a screwdriver of appropriate size for your screws — don’t force anything!
You’ll need to pay special attention when reconnecting any wires to ensure proper insulation before putting them back in place.
Make sure all connections are secure and nothing is loose or sticking out.
Once everything looks good, gently close the door and check if it closes properly without forcing–if not, investigate further until you find what might be causing the issue.
With all these steps completed, your repair should be finished!
Frequently Asked Questions
What Type Of Bulb Should I Use To Replace My Microwave Oven Bulb?
When it comes to replacing a bulb in your microwave oven, you have several options. First and foremost, you need to consider the type of bulb that’s best for your appliance.
Some bulbs are made specifically for microwaves, while others may be appropriate for other appliances. Additionally, the replacement cost can vary depending on which type of bulb you choose.
As an experienced repair technician, I recommend looking into specialty bulbs designed specifically for microwaves; these will usually provide better lighting while also being more energy efficient than generic bulbs.
With careful consideration of all factors involved – including type, cost and efficiency – you’ll find the perfect solution to replace your microwave’s bulb!
Will The Same Bulb Fit In All Types Of Microwaves?
Hey there! Will the same bulb fit in all types of microwaves?
Well, it’s not that simple. While microwave oven bulbs come in a variety of wattages and types, you’ll need to make sure you get the right one for your model.
The wattage comparison between different models is important as this will help determine how much energy needs to be used up when heating something, plus having the wrong bulb may cause lessened life expectancy or even damage the appliance itself.
Bulb cost also varies depending on type so it’s best to check with manufacturer specifications before purchasing anything.
How Often Should I Replace The Microwave Bulb?
Replacing your microwave bulb is essential for energy efficiency, and it’s something you should be doing regularly.
It’s not hard to do – just make sure that you’re properly disposing of the old one before fitting in the new one.
As a repair technician I’d recommend replacing your bulb every few months so that you can get maximum performance out of your oven.
It’ll also help with safety as well as energy efficiency by making sure there are no broken or worn parts inside.
Is There A Risk Of Electric Shock When Replacing The Bulb?
Replacing a microwave bulb can be dangerous, so it’s important to take the right precautions.
Before you start, make sure you’re familiar with any diagrams or electrical wiring associated with your oven model. If not, don’t attempt to do the repair yourself – have an expert handle it instead.
As long as you’ve got all the necessary info and tools ready though, there shouldn’t be much risk of electric shock when replacing the bulb.
Are There Any Additional Safety Precautions I Should Take When Replacing The Bulb?
Did you know that nearly half of all appliance failures are due to improper repairs?
That’s why it’s important to take extra safety precautions when unplugging and replacing a microwave oven bulb.
As an experienced repair technician, I recommend wearing gloves and ensuring the appliance is completely unplugged before attempting any maintenance or repair work.
Additionally, be sure to double-check the wiring connections before moving forward with the replacement process in order to ensure maximum safety.
Conclusion
Replacing the bulb in your microwave oven is a simple process as long as you take the necessary safety precautions. As the saying goes, ‘better safe than sorry’ – so be sure to unplug the appliance before attempting any repair work, and if you’re not comfortable performing this task yourself then contact a professional technician.
When it comes to selecting the right type of replacement, ensure that the wattage matches or is lower than what’s already installed in your microwave. Most microwaves require a 40-watt light bulb for optimal performance.
It’s also important to note that different models may require special bulbs – so always check with your manufacturer before making a purchase.
Finally, don’t forget to replace your bulb every 6 months or when needed to keep your appliance running smoothly and efficiently.
By following these steps, you can easily replace the bulb in your microwave oven without having to worry about electric shock or other risks associated with DIY repairs. Remember: prevention is better than cure! So stay safe and ensure you follow all instructions carefully when replacing a part on any electrical device.