Can You Melt Crayons in the Microwave
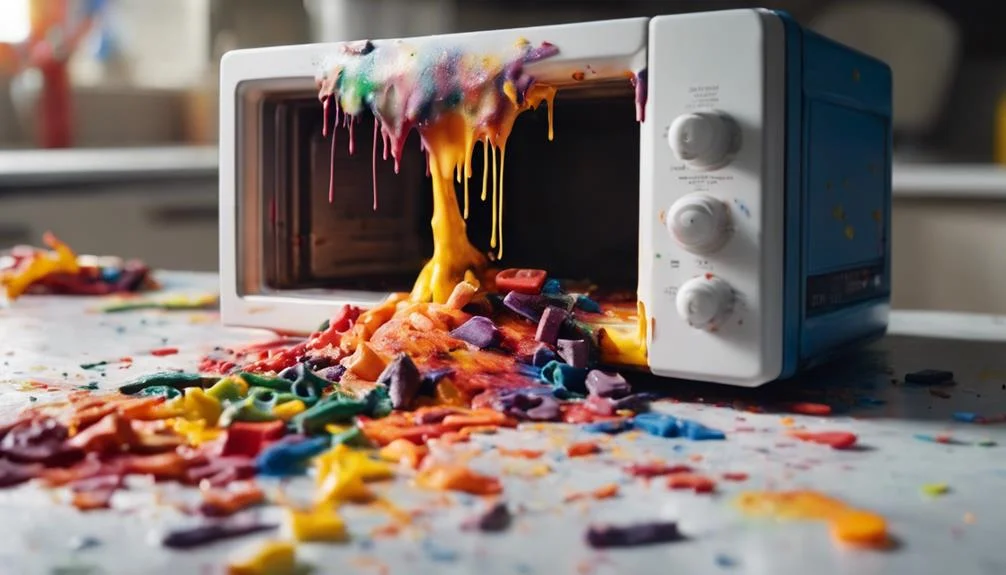
Yes, crayons can be melted in the microwave. However, it is important to follow certain guidelines to ensure a successful outcome.
First, make sure to use microwave-safe containers, such as glass or ceramic, to melt the crayons. Avoid using plastic containers, as they may not withstand the high temperatures.
Secondly, break the crayons into smaller pieces or shave them to help them melt more evenly. Place the crayons in the microwave-safe container and heat them in short intervals, stirring in between, until they are completely melted.
Be cautious when handling the container, as it may become hot. Following these steps will allow you to melt crayons in the microwave safely and achieve the desired results for your crafting projects.
Key Takeaways
- Use microwave-safe containers like glass or ceramic for melting crayons safely.
- Break crayons into smaller pieces and heat in short intervals for even melting.
- Supervise closely, handle hot containers with care, and follow safety precautions.
- Experiment with color combinations and creative uses for melted crayons.
Safety Precautions for Melting Crayons
When melting crayons in the microwave, it is essential to observe safety precautions to prevent accidents and ensure a secure process.
To start, always use microwave-safe containers when melting crayons to avoid any harmful reactions. Throughout the melting process, closely monitor the crayons to prevent overheating and potential hazards.
It is crucial to stir the crayon wax regularly while microwaving to guarantee even melting. Additionally, allow the melted crayons to cool adequately before handling them to prevent burns and ensure safety.
Lastly, when children are involved, supervise them closely to avoid accidents and make sure they understand the importance of following safety guidelines when working with melted crayons.
Tools Needed for Microwave Crayon Melting
To effectively melt crayons in the microwave, it is crucial to have the right tools at hand.
Using microwave-safe containers, ensuring proper ventilation, and keeping a close eye on the melting process are essential for a successful outcome.
Tools for Melting
For effective melting of crayons in the microwave, ensure you have microwave-safe containers at hand. When melting crayons, it is essential to use the right tools to ensure a safe and efficient process. Here are some tools you will need:
- Microwave-Safe Containers: Use containers that are specifically labeled as microwave-safe to prevent any damage to the container or the microwave itself.
- Disposable Containers: Consider using disposable containers for melting crayons to make cleanup easier and more convenient.
- Stirring Utensil: Have a utensil ready to stir the melted crayons at 1-minute intervals to ensure even melting and a smooth consistency.
Microwave Safety Tips
Ensuring the safety of your microwave crayon melting process necessitates the use of appropriate tools to facilitate a smooth and efficient procedure. When melting crayons in the microwave, it is crucial to use microwave-safe containers to prevent any damage to the container or microwave. Heat the crayons on a high setting for approximately 3 minutes, ensuring to stir the melted wax with a spoon at 1-minute intervals for even melting. Opt for a disposable container to simplify the cleanup process post-melting. For optimal results, melt each color set separately in the microwave. Below is a table summarizing the key tools needed for safe and effective microwave crayon melting:
| Tools Needed | Description |
|---|---|
| Microwave-safe containers | Prevent damage to container |
| High setting | Heat crayons efficiently |
| Disposable container | Easy cleanup process |
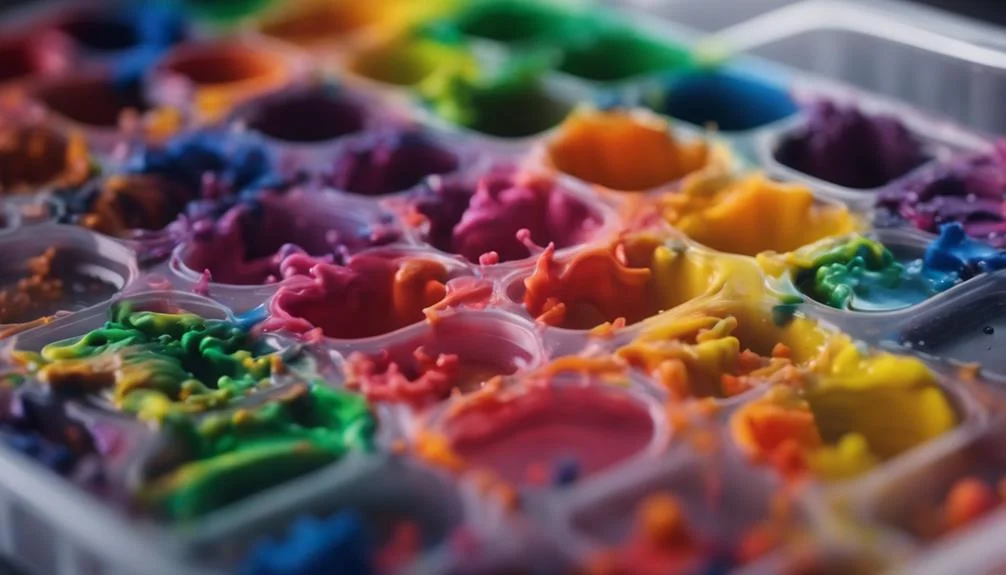
Step-By-Step Guide to Melting Crayons
Using a microwave-safe container, place color sets of crayons for melting.
Here is a step-by-step guide to melting crayons effectively:
- Heat Setting: Place the crayons in the microwave-safe container and heat them on high for approximately 3 minutes.
- Stirring: Stir the melted wax with a spoon at 1-minute intervals to ensure even melting.
- Separate Colors: For optimal results, melt each color set separately in the microwave. This helps maintain the vibrancy of the colors and prevents them from blending together.
It is also recommended to use disposable containers for easy cleanup post melting.
Tips for Achieving Optimal Melting Results
To achieve optimal melting results when melting crayons in the microwave, it is crucial to:
- Maintain even melting temperatures.
- Adjust the microwave settings accordingly.
- Stir the wax consistently to ensure a smooth texture.
By following these tips, you can prevent overheating, scorching, and achieve the desired consistency for your melted crayons.
Remember to work in small color batches for better control and mixing options.
Even Melting Temperatures
For achieving optimal melting results when melting crayons in the microwave, it is essential to utilize separate microwave-safe containers for each color set. To ensure uniform melting temperatures, consider the following:
- Microwave-Safe Containers: Use a microwave-safe container for each color set to prevent mixing and maintain color integrity.
- Uniform Melting: Stir the wax at 1-minute intervals to promote even melting and avoid overheating.
- High Setting: Heat the color sets on the high setting for approximately 3 minutes in the microwave for efficient melting.
Proper Microwave Settings
When melting crayons in the microwave, it is crucial to set the microwave to a high setting to expedite the melting process efficiently. Using microwave-safe containers is essential to prevent damage during the melting process. Remember to stir the crayons at regular intervals to ensure even melting and prevent hot spots. To avoid overheating the crayons, microwave them in short intervals to control the melting process effectively. It's important to exercise caution when handling the hot containers and melted crayons to prevent burns or spills.
| Microwave Settings Tips | |
|---|---|
| Use microwave-safe containers | Prevention of damage |
| Set microwave to a high setting | Faster melting |
| Stir crayons at intervals | Even melting and hot spot prevention |
| Prevent overheating | Control the melting process effectively |
Stirring for Consistency
Ensuring the consistent stirring of melted crayons every minute in the microwave is essential for achieving uniform heating and optimal melting results. When melting crayons in the microwave, proper stirring techniques play a crucial role in the process. Here are some key tips for achieving the best melting outcomes:
- Even Heating: Stirring the crayons regularly helps to distribute the heat evenly, preventing hot spots and ensuring all colors melt uniformly.
- Color Mixing: Regular stirring aids in mixing colors, especially when creating multicolored crayons for a blended effect.
- Maintaining Consistency: By stirring consistently, you can avoid overheating and maintain the desired consistency for molding the melted crayons.
Common Mistakes to Avoid When Melting Crayons
One common mistake to avoid when melting crayons is using metal containers in the microwave, as this can result in sparking or damage. It is essential to prioritize safety and follow proper guidelines to prevent accidents or hazards. Here are some common mistakes to avoid when melting crayons:
| Mistakes | Prevention |
|---|---|
| Using metal containers | Choose microwave-safe containers to prevent sparking |
| Overheating crayons | Avoid burning or emitting toxic fumes |
| Neglecting the process | Monitor closely to prevent spills and mess |
| Unsafe handling | Exercise caution to prevent burns or accidents |
Creative Uses for Melted Crayons
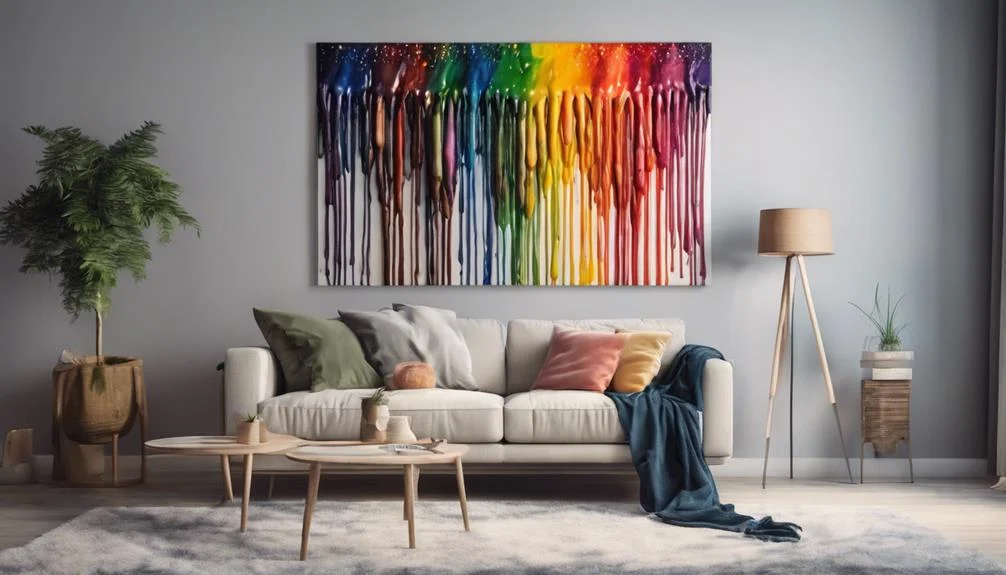
Exploring various innovative applications for melted crayons can unleash a world of vibrant and artistic possibilities. When it comes to creative uses for melted crayons, the options are endless. Here are some exciting ideas to inspire your next project:
- Colorful Candles: Melted crayons can be used to create beautiful and unique candles, adding a pop of color to your living space.
- Ornamental Art: Transform melted crayons into festive ornaments for decorations during special occasions.
- Personalized Gifts: Craft personalized gifts by melting crayons into custom shapes, making each gift truly special.
Cleaning up After Melting Crayons
When dealing with the aftermath of melted crayons, it is essential to promptly address the residue left behind using practical cleanup methods. Begin by using a paper towel to blot excess melted crayon from surfaces. Apply a small amount of dish soap on the affected area before washing to remove any remaining stains. For stubborn stains on carpets, consider using rubbing alcohol and blotting with a clean cloth. Gently scrape off hardened crayon residue from hard surfaces. In the case of fabrics, utilize a hairdryer on a low setting to soften the crayon before attempting to remove it. These methods can help efficiently clean up the mess caused by crayons melted in the microwave.
| Cleanup Method | Instructions |
|---|---|
| Paper Towel | Blot excess melted crayon from surfaces |
| Dish Soap | Apply dish soap on affected area before washing |
| Rubbing Alcohol | Use rubbing alcohol for carpet stains |
Storing Melted Crayons for Future Use
To preserve melted crayons for future use, it is crucial to store them in airtight containers or plastic bags to prevent desiccation. When storing melted crayons, follow these key steps:
- Use Proper Containers: Store melted crayons in a plastic bag or airtight container to avoid drying out.
- Label Containers: Ensure easy identification by labeling containers with color names or codes.
- Maintain Storage Conditions: Keep melted crayons in a cool, dry place away from direct sunlight or heat sources to maintain their consistency.
Frequently Asked Questions
How Long Should I Melt the Crayons in the Microwave For?
For optimal results when melting crayons in the microwave, consider heating each color set separately for approximately 3 minutes on high, stirring at 1-minute intervals. This method ensures vibrant hues, safety, and allows for creative projects with melted masterpieces.
Can I Mix Different Colors of Crayons Together When Melting Them?
Color combinations can enhance artistic possibilities when melting crayons. To achieve vibrant hues, layer different colors in a mold. Exercise caution to avoid overmixing, preserving distinct patterns. Ensure temperature control and follow safety precautions for a smooth cleanup process.
Is It Safe to Use a Plastic Microwave-Safe Container for Melting Crayons?
Safety precautions should be followed when using a plastic microwave-safe container for melting crayons. Alternatively, consider using a double boiler for a safer melting method. Ensure microwave maintenance and recycle crayon pieces for creative projects to minimize risks.
Can I Use a Microwave That Is Not in Perfect Condition for Melting Crayons?
Utilizing a malfunctioning microwave for crayon melting poses safety risks. Microwave safety is crucial for effective crayon melting. Ensure proper heating methods and functional kitchen appliances are used for safe and efficient crayon melting techniques.
Are There Any Specific Brands of Crayons That Work Best for Melting in the Microwave?
When considering the best brands for melting crayons in the microwave, it is essential to prioritize features like color blending, microwave safety, suitable container options, and necessary equipment requirements. Experimenting with various non-toxic, washable brands can enhance your melting projects.
Conclusion
In conclusion, melting crayons in the microwave can be a fun and creative way to repurpose old crayons and create new colorful creations. By following the safety precautions, using the necessary tools, and following the step-by-step guide, you can achieve optimal melting results.
Avoiding common mistakes and exploring creative uses for melted crayons can enhance your crafting experience. Remember to clean up properly and store melted crayons for future use.